
Last updated November 21, 2026
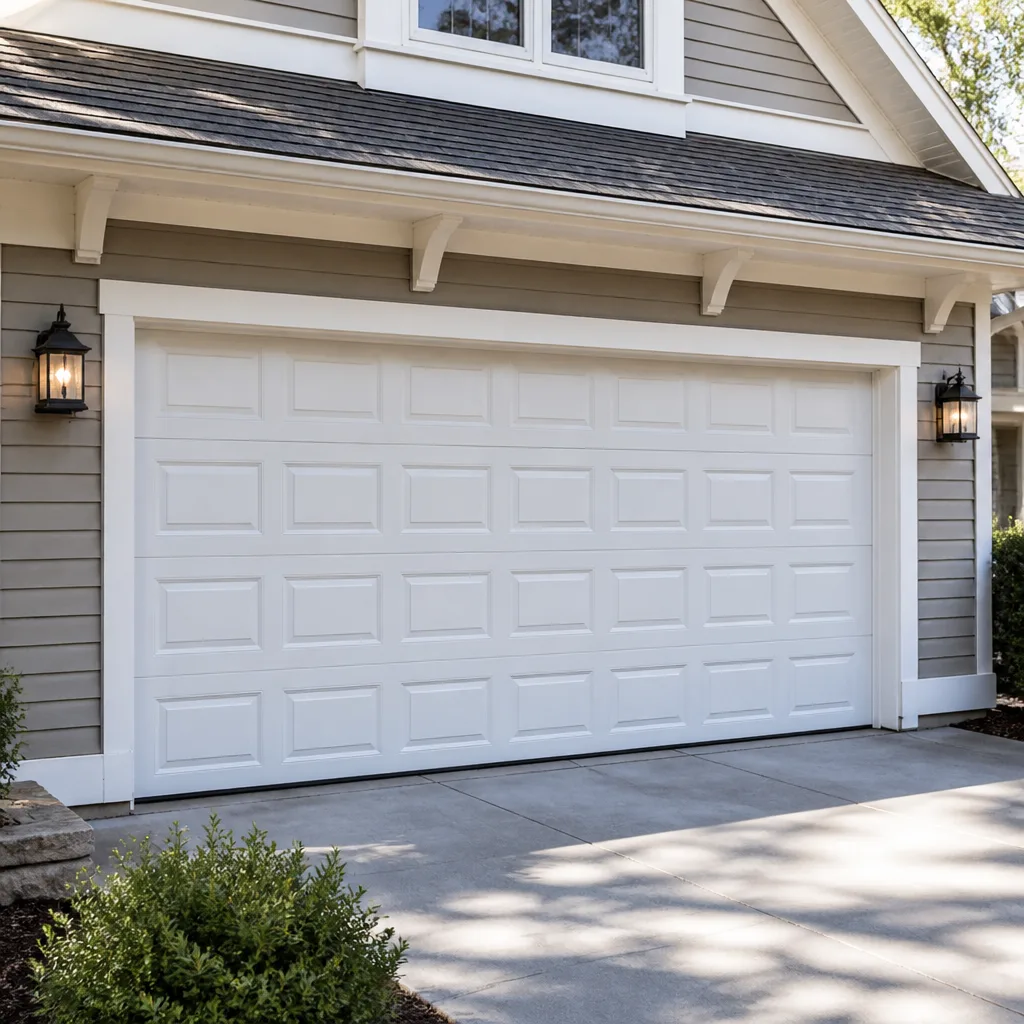 Raised-panel steel
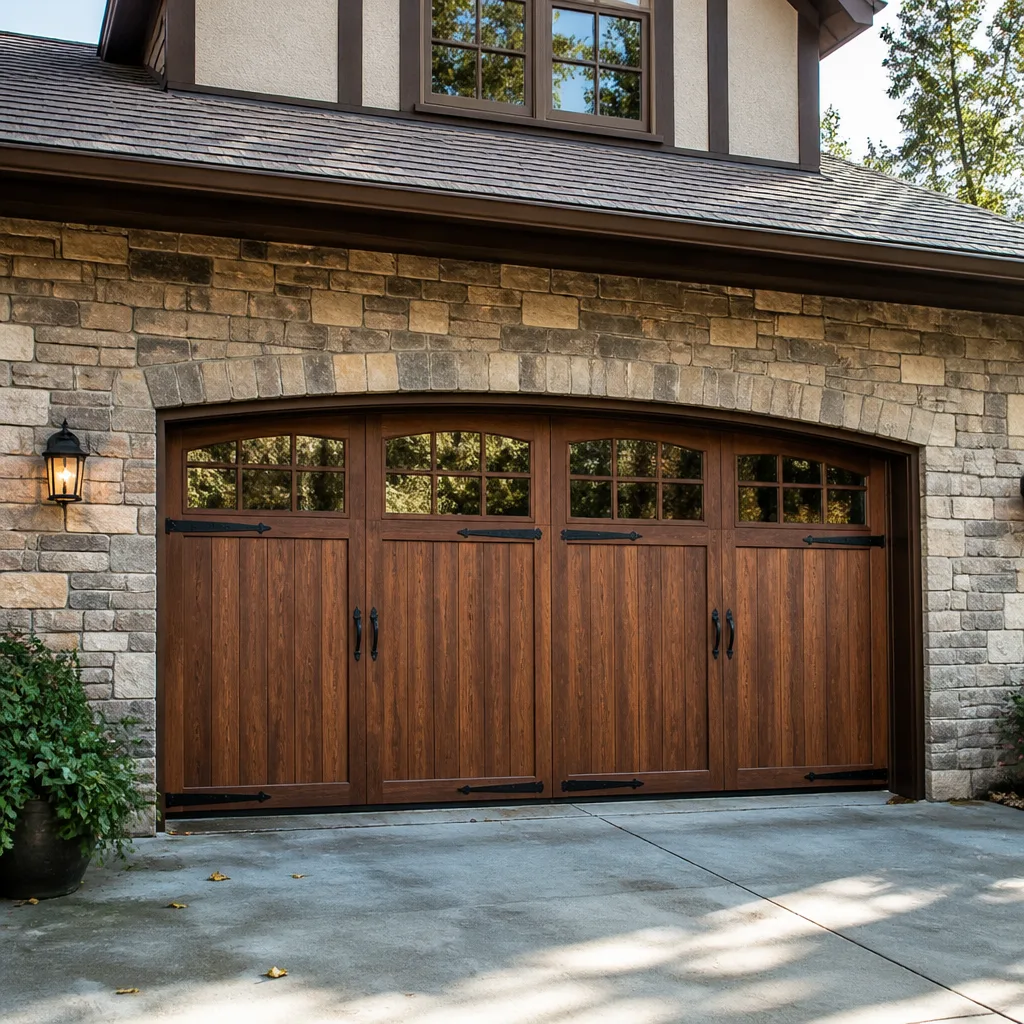 Carriage house
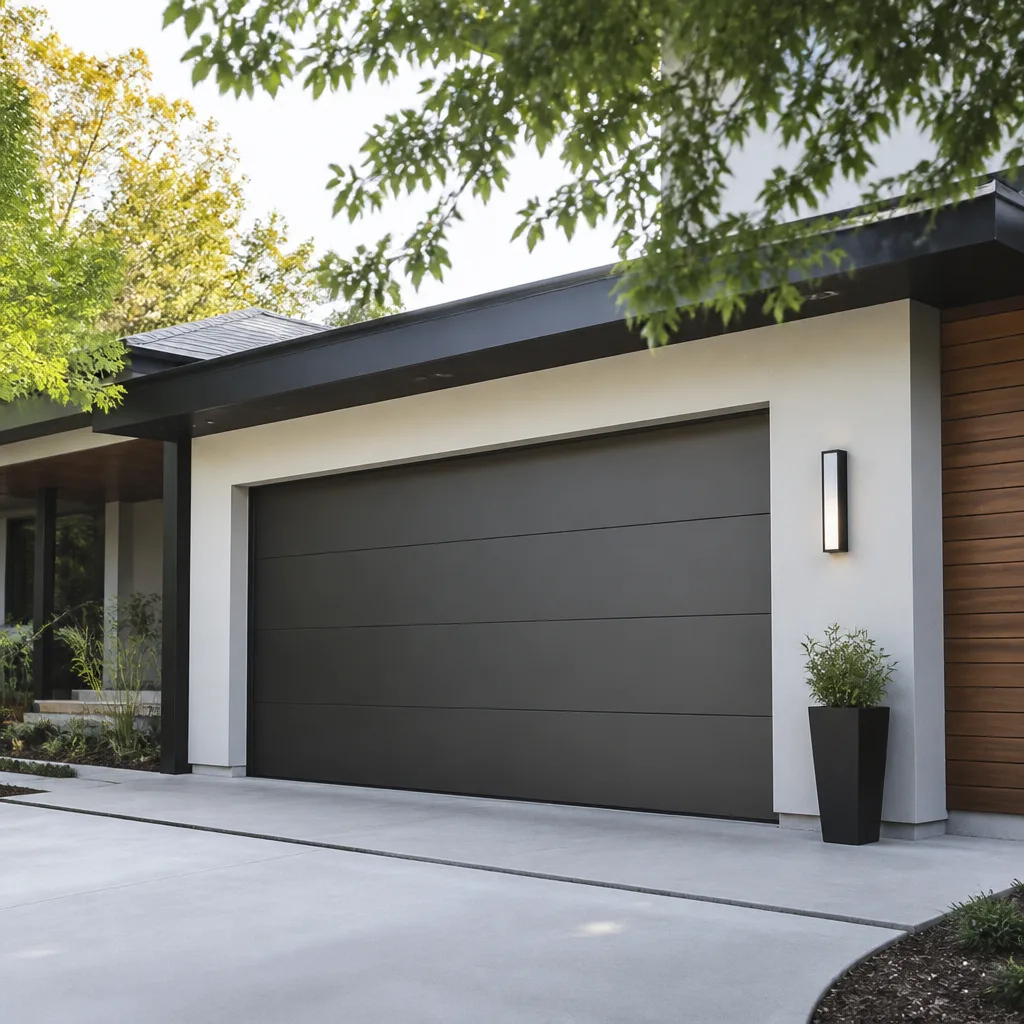 Modern flush
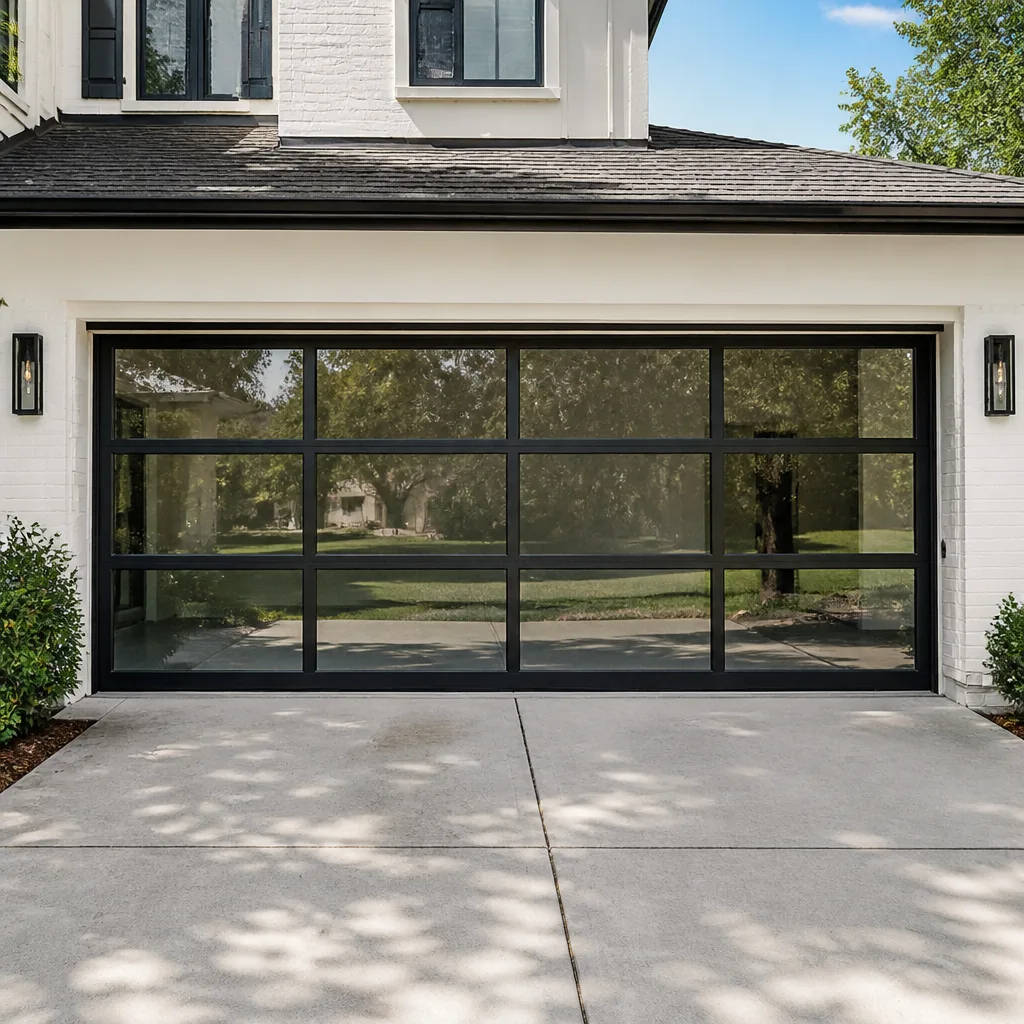 Full-view glass
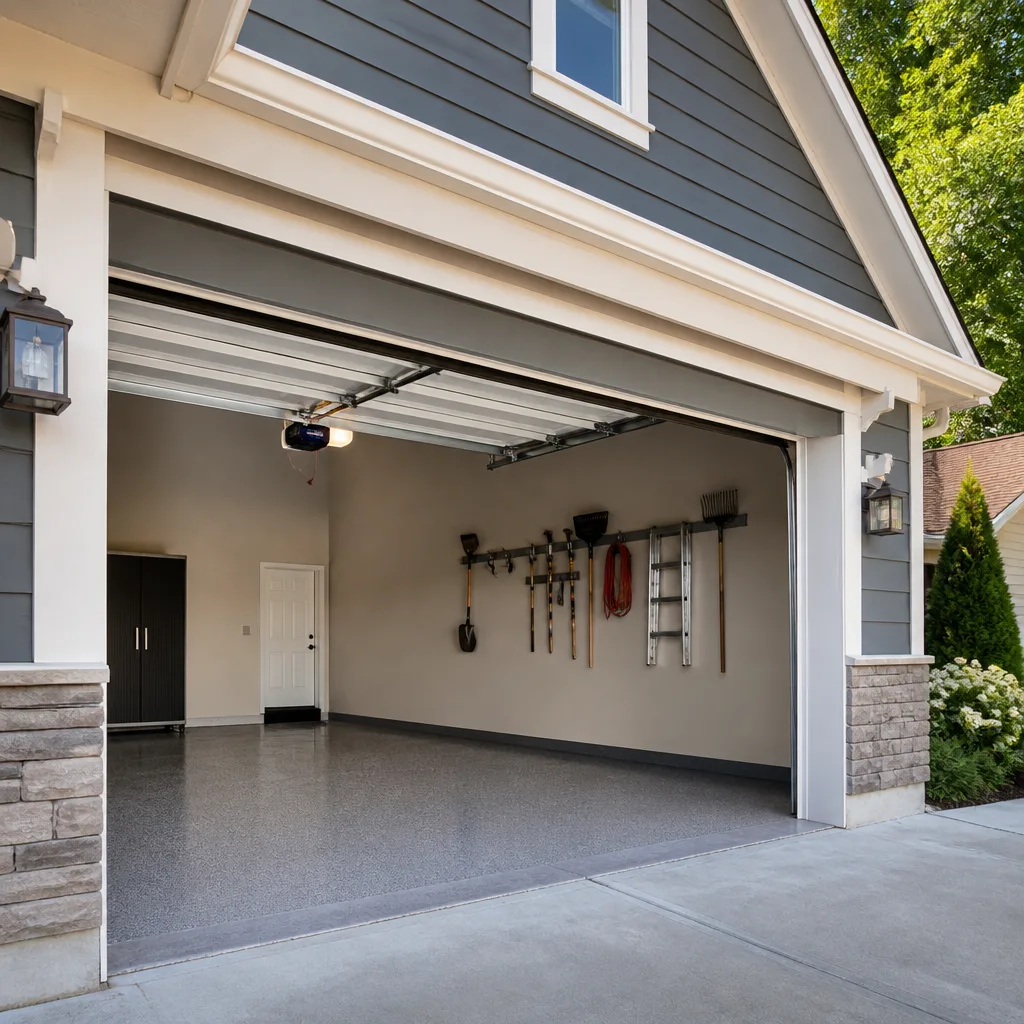 LiftMaster openers
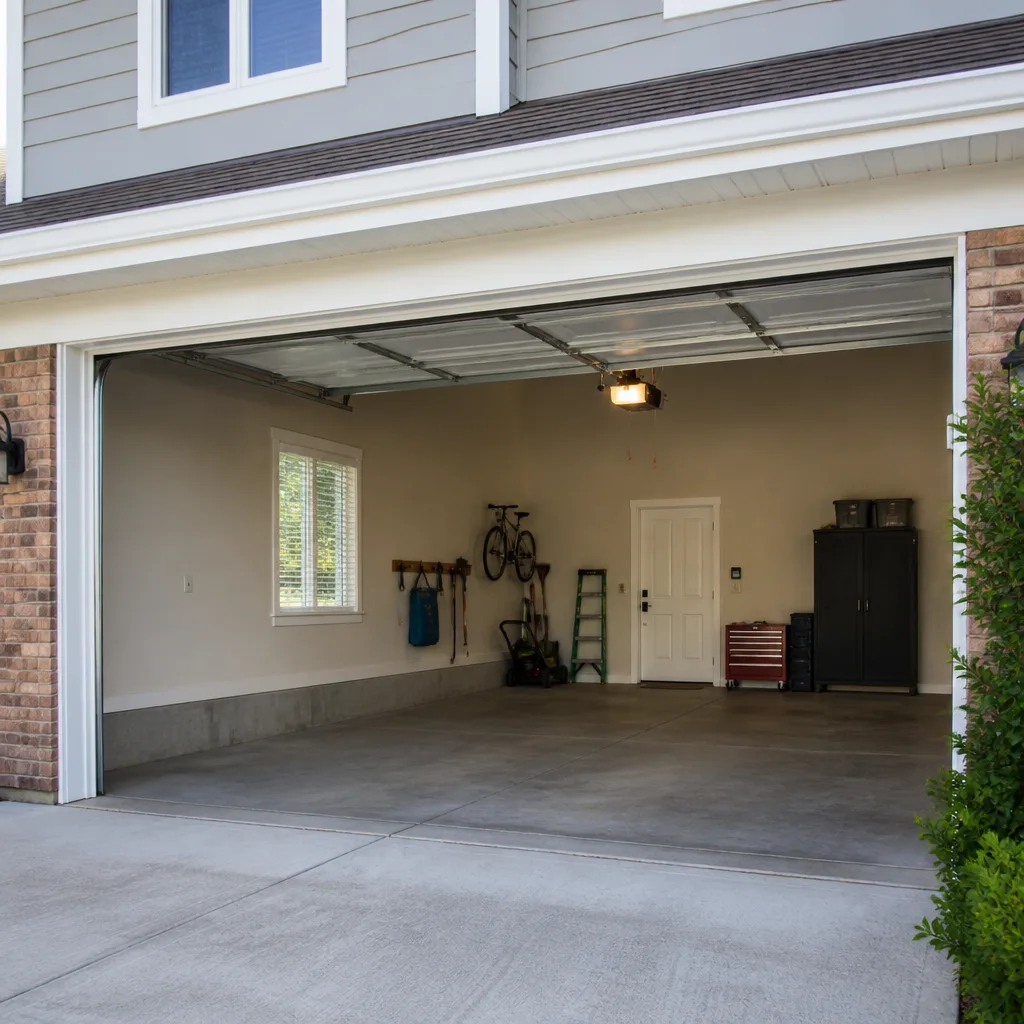 Chamberlain openers
Full 25-point door and opener safety check with every visit - springs, cables, rollers, tracks, and your LiftMaster or Chamberlain opener included
You get a price before we start. It does not change when the pro arrives.
Get your free estimateGarage Door Repair Maintenance Checklist for Meriden Homeowners
Lubrication is the most recommended garage door maintenance task, and it’s also the one most often done wrong. Spraying WD-40 on your rollers feels productive, but that thin solvent spray attracts grit and washes out the heavier grease your bearings actually need, so the rollers wear faster than they would if you’d left them alone. A checklist that just says “lubricate moving parts” is how that happens. What follows is a component-by-component guide to what failing hardware actually looks, sounds, and feels like – springs with a specific kind of rust pitting, cables with one broken strand you can spot without touching them, and a balance test that tells you which part is failing before it strands your car. You’ll also get a maintenance calendar built around Meriden’s freeze-thaw cycle rather than a generic “twice a year.”
Quick Answer
A workable garage door maintenance routine for Meriden covers four things: lubricating hinges, rollers, tracks, and springs with the right product for each (never WD-40 on the moving metal), running a balance test with the opener disengaged, checking springs and cables for the visual signs of fatigue, and timing heavier checks to the freeze-thaw swings in spring and fall. Most of this is a 15-minute visual and hands-on inspection. Anything involving spring tension or cable replacement is professional work.
Styles & brands we work with
- Raised-panel steel
- Carriage house
- Modern flush
- Full-view glass
- LiftMaster openers
- Chamberlain openers
Table of Contents
- Why a Real Checklist Beats “Inspect Twice a Year”
- Lubrication: The Right Product for Each Component
- The Balance Test and What an Out-of-Balance Door Tells You
- Reading Spring Fatigue: Rust, Gaps, and Deformation
- Cable Fraying: Surface Rust vs. Structural Failure
- Meriden’s Seasonal Maintenance Calendar
- What You Shouldn’t Touch, and Why
- When It’s Time to Call
Why a Real Checklist Beats “Inspect Twice a Year”
Every garage door maintenance article online tells you to lubricate the moving parts and check the springs twice a year. That advice isn’t wrong, it’s just too vague to be useful. What matters is knowing what a problem looks like at each stage – what separates a spring you should watch from one you should replace this week, or what a slightly rough-running roller sounds like before it seizes.
Meriden homes see a wide temperature swing across the year. Summers are humid, winters bring hard freezes, and the shoulder seasons are a steady climb up and down through the freezing mark. Every one of those cycles expands and contracts the steel in your springs and stretches and relaxes the cables. That repeated stress is exactly what fatigue looks like in slow motion, and it’s why a Meriden homeowner benefits from knowing the specific visual and audible signals rather than trusting a general calendar.
What you’ll find in this checklist:
- The correct lubricant for each component type, and why WD-40 on rollers causes more harm than good
- How to run the balance test properly and what the result points to
- The visual markers of spring fatigue at each stage, from rust pitting to coil deformation
- How to read a cable for structural strand failure without touching it
- A maintenance calendar built around Meriden’s freeze-thaw pattern, not a generic six-month reminder
If your door is already broken rather than just aging, the maintenance path becomes a garage door repair call and the checklist becomes a diagnosis. That’s a good reason to learn the signals now.
Lubrication: The Right Product for Each Component
This is the section that most checklists skip entirely, and it’s the one that saves the most money. Different parts of a garage door need different lubricants. Using the wrong one accelerates wear.
What to use where
- Hinges: White lithium grease or a silicone-based garage door lubricant. Apply a light coat to the pivot points, not a heavy glob.
- Rollers (steel): A few drops of garage door lubricant or light machine oil on the bearing, not the wheel surface. Too much lubricant on the wheel face collects dust and grit that grinds into the track.
- Rollers (nylon): Nylon rollers generally need little to no lubrication. A dry silicone spray on the bearing is the most you should apply. Grease on nylon rollers attracts grit and causes them to chatter.
- Tracks: A dry silicone spray along the inside of the vertical and curved sections. Never grease, oil, or WD-40 in the track. Tracks should be clean and dry, not slick.
- Springs: A dedicated garage door spring lubricant or a light coat of white lithium grease on torsion springs only. Extension springs can be wiped with a light lubricant but never sprayed with oil that could migrate onto the pulleys.
- Opener chain or screw: The manufacturer’s specified lubricant – some openers need none at all. Check your manual before adding anything.
What not to use
WD-40, household 3-in-1 oil, and cooking spray all show up in online maintenance advice. None of them belong on a garage door. WD-40 is a solvent and water displacer, not a lasting lubricant; it strips the existing grease and leaves the metal dry. Household oil is too thin for weight-bearing components and migrates onto surfaces you don’t want it. Cooking spray is a food-grade product that turns gummy and attracts insects. The right product for your specific door is worth the small cost of buying it once a year.
One more note on timing: apply lubricant when the door is fully closed, run it up and down a couple of cycles to distribute, then wipe away any excess so it doesn’t collect dust. In Meriden’s humid summer months, excess lubricant on the track is a magnet for grit, so go lighter than you think you need to.
The Balance Test and What an Out-of-Balance Door Tells You
The balance test is the single most informative thing you can do for your garage door. It takes about two minutes and tells you the health of your springs, cables, and overall hardware in one shot. Here’s how to do it correctly.
- Close the door fully and disconnect the opener by pulling the emergency release handle (the red cord). This is essential – you’re testing the door’s mechanical balance, not the opener’s ability to muscle it.
- Raise the door by hand to about halfway (roughly waist height).
- Let go. Don’t push it, don’t catch it. Just watch.
- A properly balanced door will stay roughly where you let it go, maybe drifting a few inches. It should not fall.
- If the door drops quickly or falls to the floor, the springs are worn or the cables are loose.
- If the door rises on its own, the springs are over-tensioned.
- If the door feels heavy at the halfway point and lighter at the top, one of the two springs (on a two-spring setup) may have failed.
What the result means
A door that falls means the springs are no longer counterbalancing the door’s weight. On a torsion-spring door, that usually means the springs have lost tension through fatigue or one has broken. On an extension-spring door, the same result points to stretched springs. Either way, the door’s full weight is now resting on the opener, which will overwork and eventually fail. A replacement is usually the right next step – not a re-tension, since fatigue is cumulative and re-tensioning a worn spring just buys a short delay.
A door that rises on its own is less urgent but still worth attention – often the springs are simply set too tight. A door that falls on a two-spring setup with one still intact is a warning that the failed spring is putting all the load on its partner, which will fail soon too. Springs should be replaced as a matched pair for this reason. Our garage door spring repair service handles the diagnosis and pair replacement, and if the door is stuck right now, we can talk through the safest place to park while you sort it.
Never attempt to reset spring tension yourself. The balance test is a read, not a repair.
Reading Spring Fatigue: Rust, Gaps, and Deformation
Springs are the most dangerous part of your garage door system, and they fail in stages – not all at once. Learning to read the stages lets you schedule a replacement rather than waiting for the bang.
Stage 1: Rust pitting (monitor)
Look at the spring, especially on a torsion spring mounted above the door. A uniform light surface rust is common and not urgent; wipe it and move on. What you’re watching for is pitting – small dark spots where rust has started to eat into the metal. Pitting creates stress risers, which are the microscopic starting points for a crack. Once you see visible pitting on the coils, the spring is in its later life. Not an emergency, but worth planning for.
Stage 2: Gap formation and coil spacing (schedule soon)
Measure the distance between coils near the middle of the spring versus the ends. On a healthy torsion spring, the coils are evenly spaced. If the coils have opened up and there’s a visible gap forming toward the center, the spring is winding down – literally losing tension because the steel is fatigued. A spring with a clear gap in the middle is close enough to its failure point that scheduling replacement makes more sense than watching it.
Stage 3: Coil deformation or a visible break (replace now)
If the coils are visibly slumping, kinked, or you can see a break anywhere in the spring, it’s failed or failing. Don’t run the door – doing so puts full weight on the opener and cables. A torsion spring that has broken usually makes an obvious bang and the door stops lifting. An extension spring can snap and fly, which is why they’re supposed to have safety cables threaded through them. Call for spring replacement before running the door again.
Where the sign shows up
On a two-spring torsion setup, one spring often fails before the other, so look at both individually. On extension springs, the fatigue shows up as stretch – the spring is longer than its neighbors – plus the same rust-and-pitting pattern. Note both types come in the same three visual stages; extension springs just fail more violently, which is why a professional replacement is the only safe path.
Cable Fraying: Surface Rust vs. Structural Failure
Cables lift the door on a torsion setup and hold the extension springs on the other type. Both applications mean the cable carries serious load, and a failed cable can whip loose with enough force to cause injury. The catch is that the difference between “old” and “about to fail” is subtle. Here’s how to read a cable without touching it.
What’s safe to assess visually
- Broken strands (structural failure): A single strand that has broken away from the braid will stick out like a small wire fork, or you’ll see a tiny “birdcage” where the outer strands have separated from the core. One broken strand is enough to call a professional. Multiple broken strands is a stop-immediately signal.
- Flattening or kinks: A healthy cable is round and smooth. A cable with flat spots or a kink where it winds onto the drum has been overloaded and is losing strength.
- Frayed end at the drum: Where the cable meets the drum, look for a bundle of wires that have unwound. This is where most failures start.
What’s just surface rust
A light uniform orange-brown coloring on the cable, present across its entire length, is cosmetic – it’s oxidation on the outer layer of the wire. What you’re separating out is uneven rust that clusters, pitting that changes the surface texture, or rust accompanied by kinks or fraying. Surface rust alone isn’t a failure. Surface rust plus any of the structural signs above is.
The reason to avoid touching: a cable under tension with a nearly-failed strand can feel fine and fail the moment you handle it. Look with your eyes, never reach in to test tension by hand. If you see any sign that crosses from surface to structural, keep the door closed and call. We can work with your schedule and get the cables evaluated.
Meriden’s Seasonal Maintenance Calendar
Generic advice says “check twice a year.” Meriden’s seasonal temperatures give you a better schedule than that. Here’s how to time each task to the freeze-thaw cycle and the humid summer stretch.
Late winter / early spring (after the last hard freeze)
- Full visual inspection of springs and cables – the winter’s expansion and contraction is when most fatigue accumulates.
- Run the balance test now, before the door sees heavy spring use.
- Clear any grit that’s collected on the tracks over the winter months.
- Lubricate hinges and rollers, and apply a light coat to any springs still in service.
Late spring / early summer (before the humidity arrives)
- Test the opener’s safety reverse (place a 2×4 flat on the ground under the door and confirm it stops and reverses).
- Clean tracks thoroughly – summer humidity in Meriden makes dust stick to a greasy track.
- Lubricate again if you have a high-use door (more than six cycles a day). Use less product in humid months.
Late summer / early fall (before the first frost)
- Run the balance test again. This catches fatigue that may have developed over the summer’s heat cycles.
- Inspect weather seals and bottom gasket – a hard freeze with a torn seal lets cold air in and stresses hardware.
- Check the opener drive (chain, belt, or screw) for slack; adjust if the manual calls for it.
- Tighten visible hardware: brackets, hinges, roller mounts. Freeze-thaw loosens fasteners.
Late fall / early winter (before the first deep freeze)
- Final spring and cable inspection of the year.
- A light lubricant application on all moving parts, timed so it doesn’t stay tacky into the freezing months.
- Clear any debris from inside the tracks and vacuum the opener housing if you notice dust buildup.
This four-season rhythm works better than a random “twice a year” reminder because it puts the heaviest inspection right after the season that stresses hardware most – winter. If you track nothing else, run the balance test in spring and fall, and do the full visual walkthrough once a year when the frost threatens.
What You Shouldn’t Touch, and Why
A checklist is only useful if it also tells you its limits.
Torsion springs and their winding bars: A torsion spring stores enough energy to break bones. Adjusting or replacing one requires specific tools and knowledge of exactly how much tension the door needs. Don’t wind a spring yourself, ever, no matter what a video says.
Cables under tension: Don’t touch a cable that’s under load. If you see structural damage, close the door and call.
Openers and wiring: An opener’s power connection and the safety sensor wiring involve line voltage. Diagnose the behavior (symptom, when it happens), but leave opening up the housing and checking connections to someone who knows the system.
Extension springs without safety cables: An extension spring can whip loose when it fails, and a proper safety cable threaded through the center contains it. If yours lacks one, this is a professional add-on rather than a homeowner install.
Any adjustment on a door that has already failed a balance test: If the door doesn’t hold position, the best move is to stop using it and call. Continuing to run the opener on an unbalanced door will strip the gear or burn out the motor, turning a spring repair into a spring-plus-opener bill.
Common Mistakes to Avoid
- Using WD-40 on rollers. It strips existing grease and leaves the bearing dry, which accelerates wear. Buy a proper garage door lubricant and use it sparingly.
- Greasing the tracks. Tracks should be clean and dry. Any grease attracts grit and turns the track into a grinding surface, especially with Meriden’s humid summer dust.
- Skipping the balance test. It tells you the condition of your springs and cables in two minutes. Without it, you’re guessing until something breaks.
- Replacing one spring when both are worn. On a two-spring torsion setup, the surviving spring is now carrying double the load and will fail soon. A matched pair is the correct repair.
- Running a door that’s already failed. If the door drops when you let go of it at waist height, don’t run the opener on it. You’ll turn a spring job into a spring-plus-opener job.
- Ignoring opener brand. Genie and Chamberlain drives run differently, and a Genie chain tension spec isn’t the same as a Chamberlain belt spec. Check your manual or ask before adjusting.
- Treating a snapped spring as a same-day DIY. It looks like a quick fix. It isn’t, and it’s the most common cause of serious garage door injuries.
Every one of these mistakes costs more than the maintenance task they skip. A bottle of the right lubricant costs less than a set of rollers, and a $0 balance test is the cheapest diagnosis on the door.
See the difference
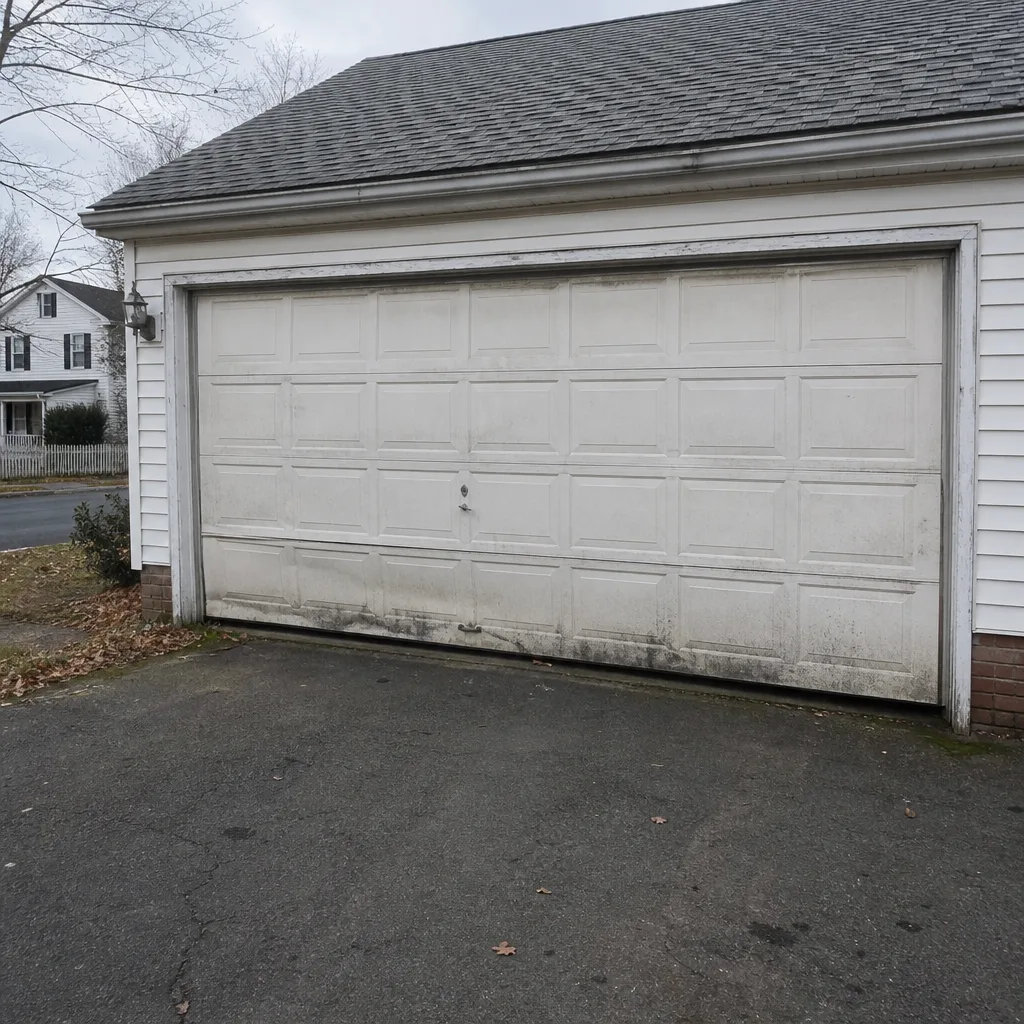 Before
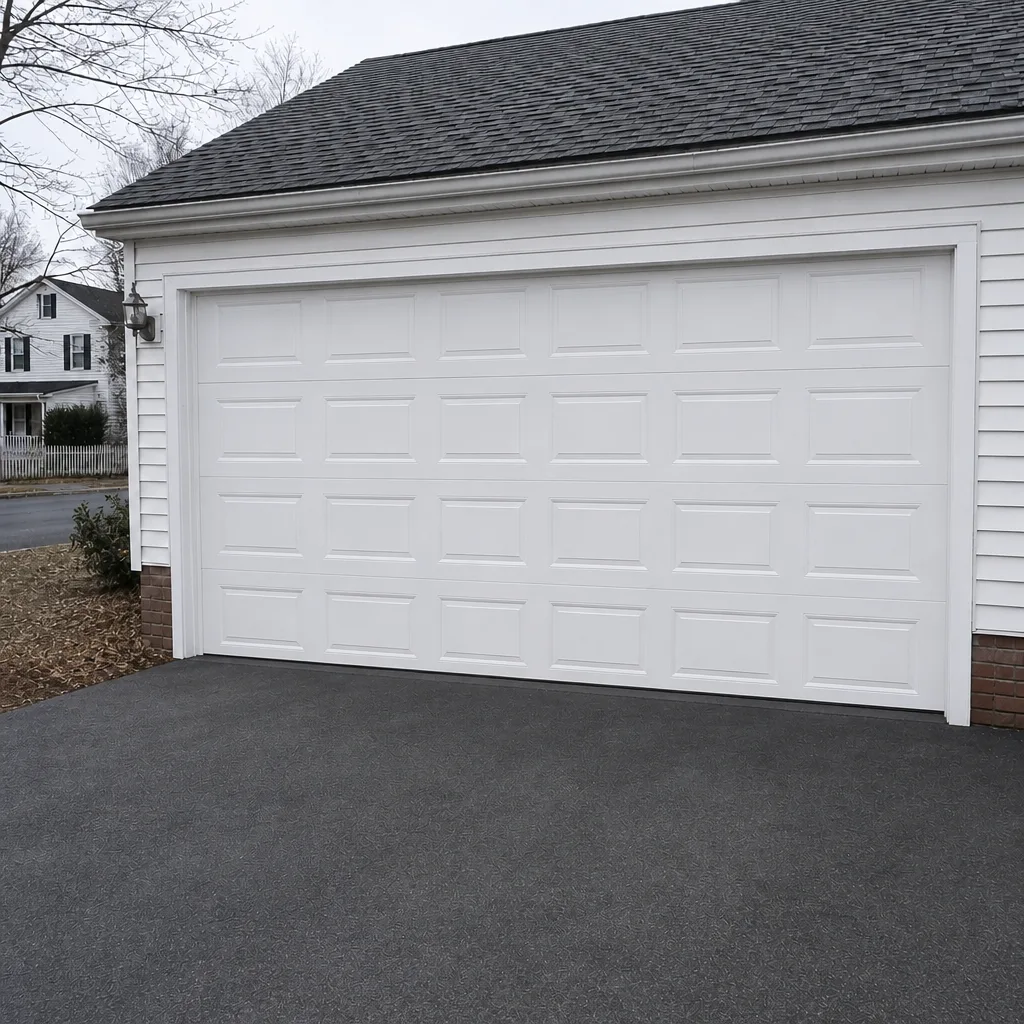 After
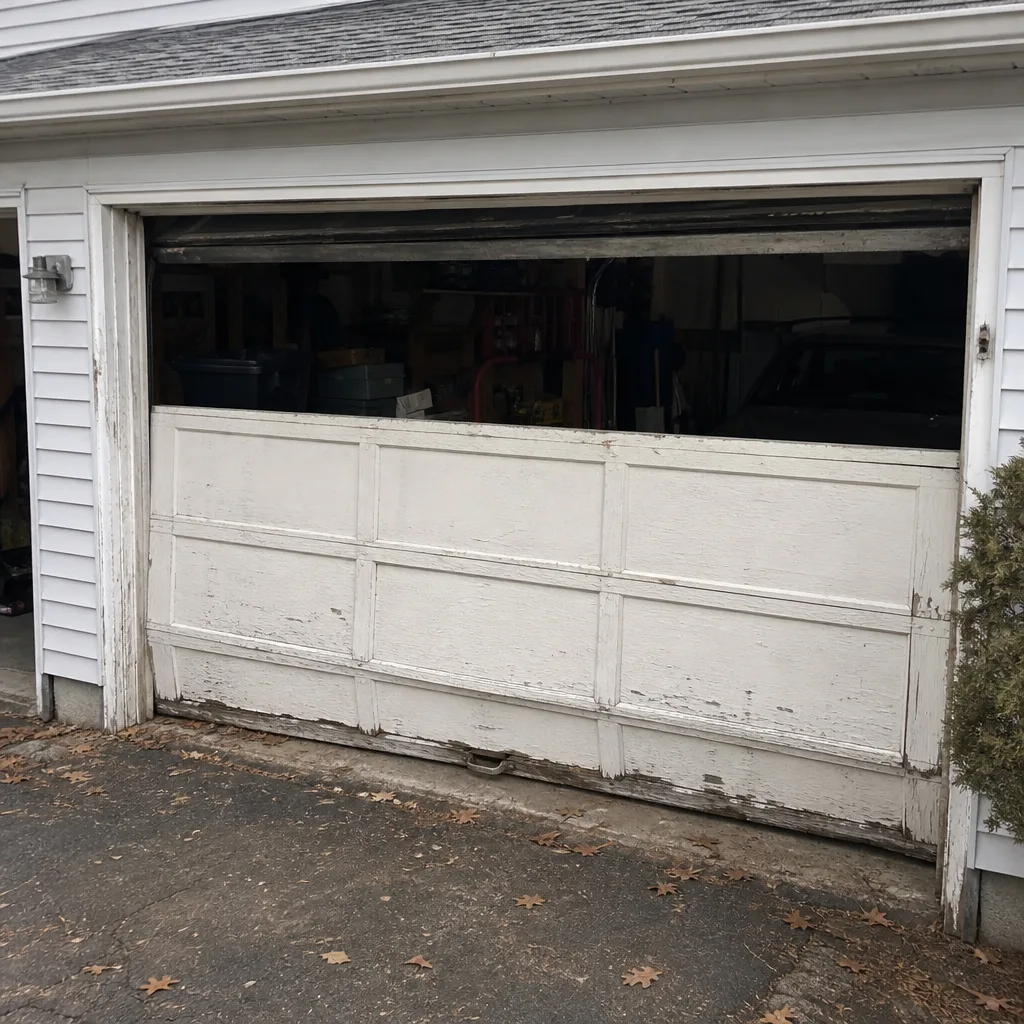 Before
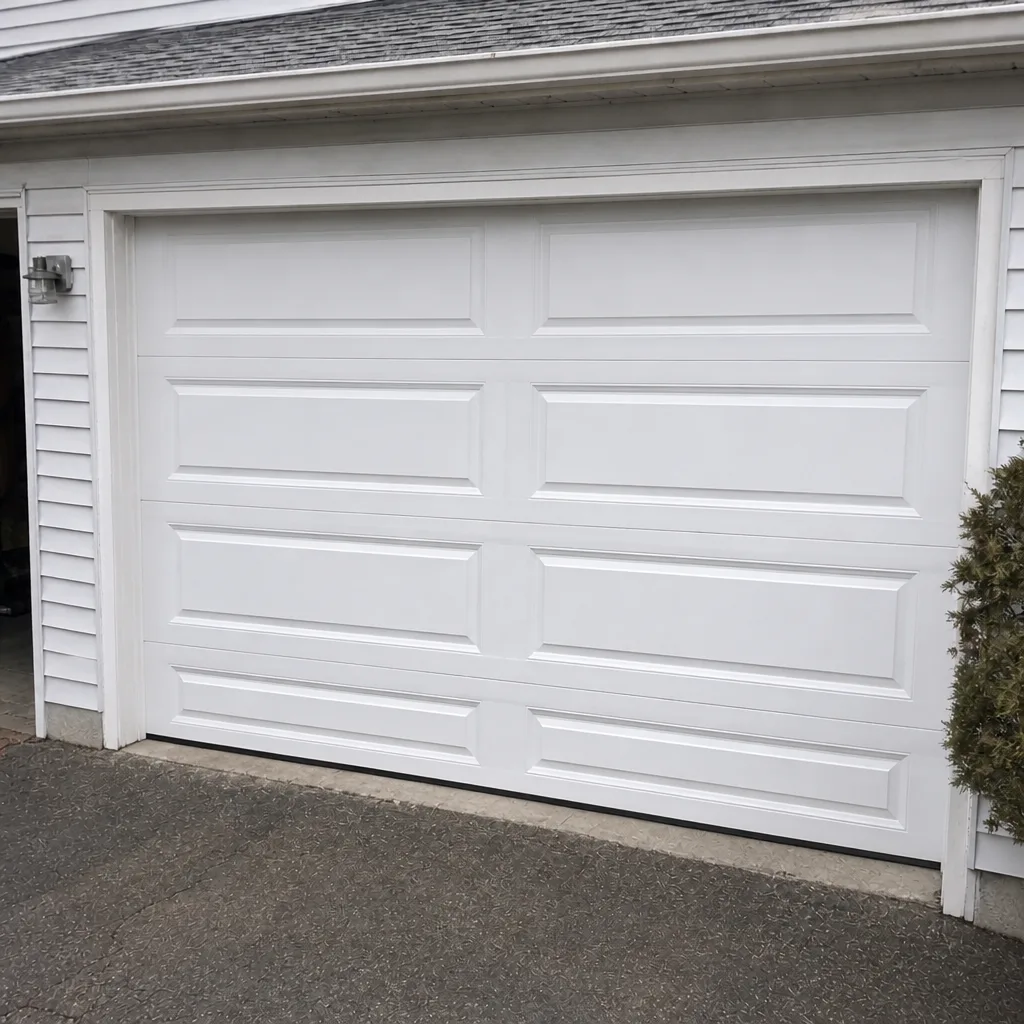 After
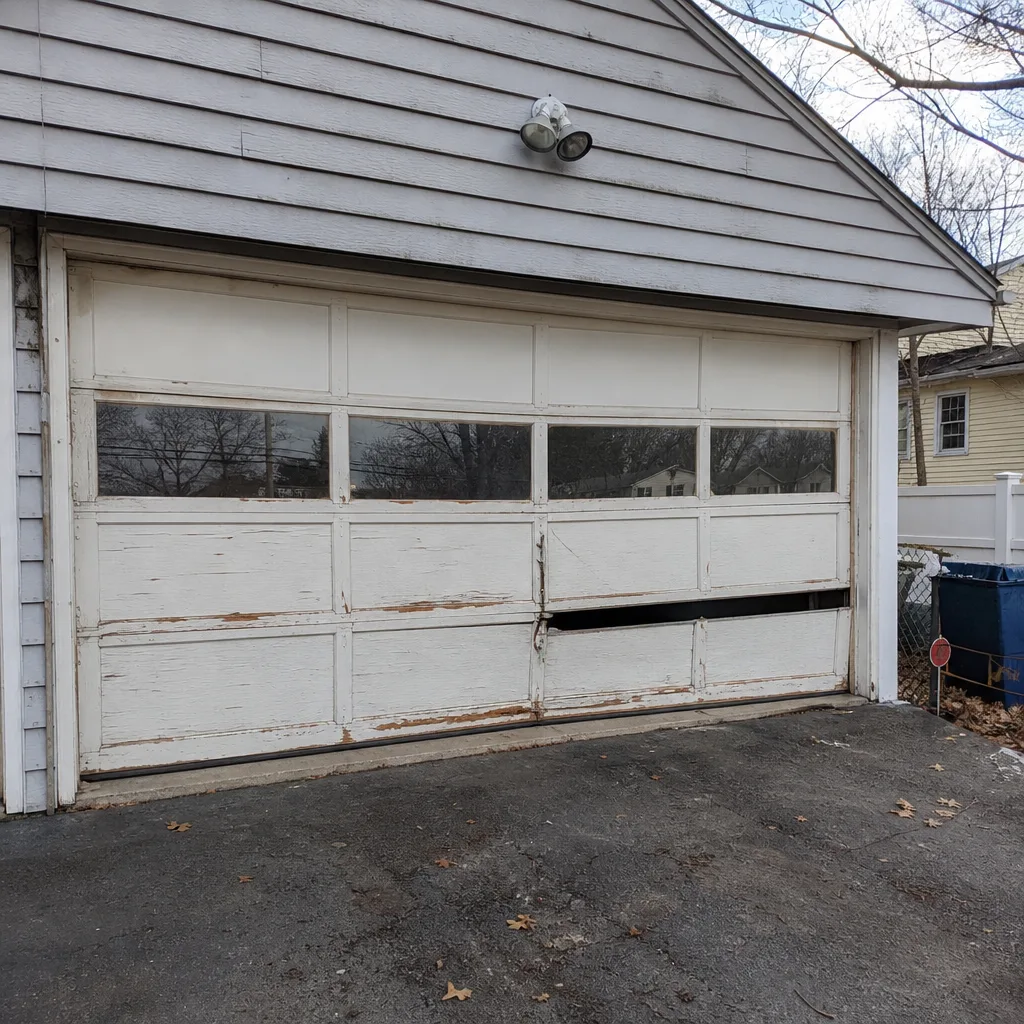 Before
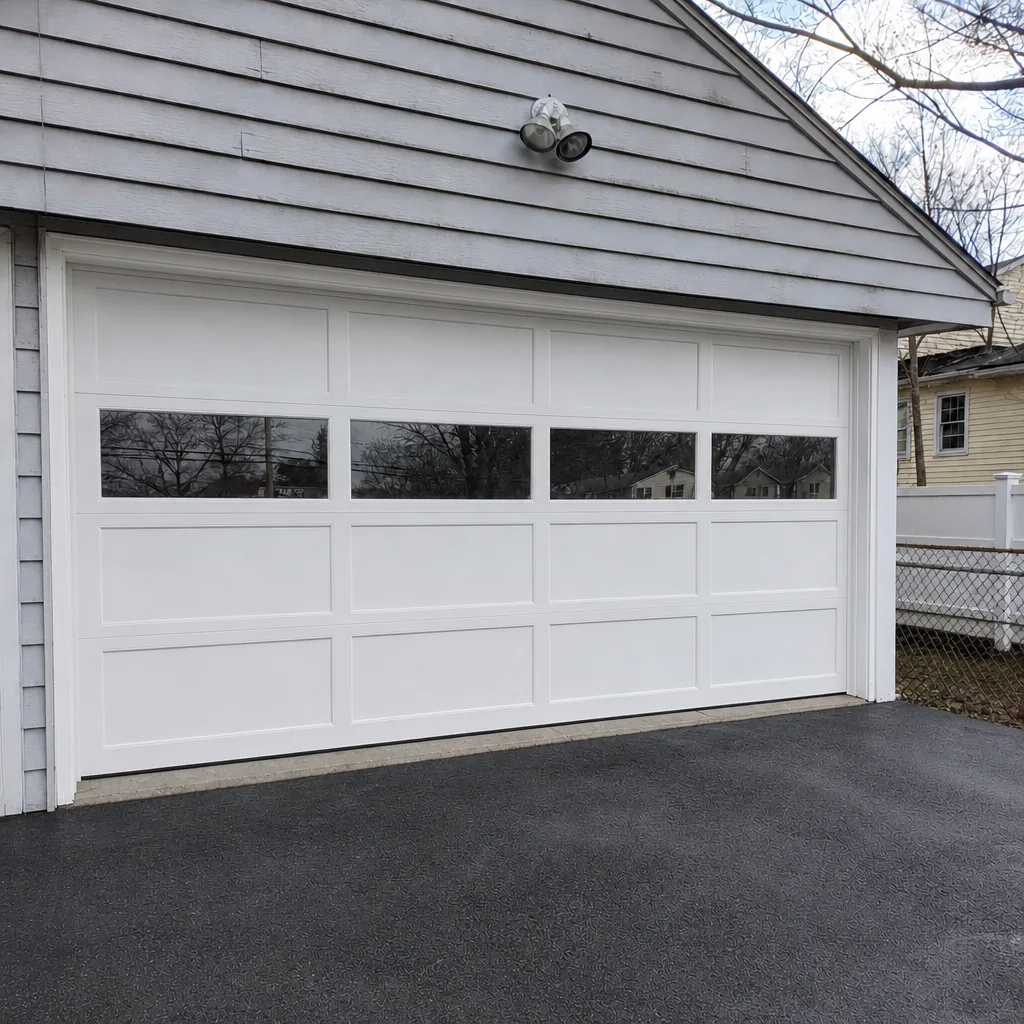 After
When to Call a Professional
Some signs are maintenance. Some mean the job has moved past the checklist. Call for a professional visit if you see:
- Any structural cable damage (broken strand, birdcaging, kink)
- A spring with visible gap formation, coil deformation, or pitting you can see clearly
- A balance test where the door falls or rises on its own
- The opener runs but the door doesn’t move, or reverses immediately
- Loud popping, grinding, or scraping on a normal cycle
- A door that has come off its track
- Any component you’re unsure how to assess
Meriden Garage Door Repair Pros offers free estimates in Meriden. Our technicians have up to 11 years of experience and work on Genie, Chamberlain, LiftMaster, Clopay, Amarr, Wayne Dalton, Craftsman, and Raynor systems without brand-guessing. Call (855) 294-4551. We answer 24/7, with fast dispatch from 7am to 7pm, Sunday through Friday. The price is set by the written estimate before any work starts, and there’s no fee tacked on because your call happened to come in overnight.
Frequently Asked Questions
Two to three times a year works for most Meriden homes, with the timing tied to the freeze-thaw calendar rather than an even split. Lubricate hinges, rollers, and springs in late fall before the first deep freeze, in early spring after the last one, and once mid-summer if your door cycles more than six times a day. Use less product in the humid months, since excess lubricant collects dust.
A failing torsion spring usually shows one of three signs: visible rust pitting on the coils, a gap forming between coils near the middle of the spring, or slight coil deformation. Pitting means monitor and plan. A clear gap means schedule replacement soon. Deformation or a visible break means stop running the door. Call (855) 294-4551 for a free evaluation of a spring that’s reached the gap stage.
No. Once a torsion spring snaps, the full weight of the door is carried by the opener and cables, and running the door will damage the opener. Park outside, leave the door closed if the door is stuck, and call (855) 294-4551. We answer 24/7, with fast dispatch from 7am to 7pm, Sunday through Friday. A damaged door that leaves your home unsecured gets handled as a priority.
It’s more often the opener’s safety sensors or a bad limit setting than a spring. If the door rises normally but reverses immediately on the way down, the safety sensors may be misaligned or obstructed. If the door rises slowly or feels unbalanced, springs are the suspect. A balance test and a sensor check will separate the two. If you can’t tell, our garage door opener repair team can diagnose the opener side and confirm whether springs are involved.
No, not on the moving metal. WD-40 is a solvent and moisture displacer, not a lasting lubricant – it strips existing grease and leaves the metal dry, which accelerates roller wear. Use a proper garage door lubricant for hinges and steel roller bearings, a dry silicone spray for nylon rollers and tracks, and white lithium grease for torsion springs. Ask us what fits your specific door if you’re unsure.
Usually yes, but a hard freeze can leave a door stuck if the bottom seal is frozen to the ground or the tracks are filled with ice. Don’t force it – pulling the opener’s emergency release and lifting gently by hand tells you whether the door is frozen or something has failed mechanically. If it feels wrong or won’t move, call (855) 294-4551 for an evaluation. We answer 24/7 and can book a visit into the next opening.
The Bottom Line
A garage door maintenance routine works when it’s built around specific observations rather than generic to-do items. Run the balance test in spring and fall. Read your springs for pitting, gaps, and deformation at each stage. Look for structural cable damage without touching. Use the right lubricant for each component, and never the wrong one – leaves tracks clean and metal dry. Time the heavier checks to Meriden’s freeze-thaw pattern, which stresses hardware more than a fixed calendar ever captures. And when something crosses from monitor into replace-now, call. A set of springs replaced at the gap stage costs a fraction of the same repair after an opener has been cooked or a car has been trapped. The checklist keeps you ahead of that. Meriden Garage Door Repair Pros covers repair, opener service, and spring replacement on the brand you already have – whether that’s a Genie chain drive from the last decade or a Clopay door you’re planning to replace with a new Amarr – so you don’t need a handoff between a repair tech and an installer. Call (855) 294-4551 for a free estimate.
Written by the team at Meriden Garage Door Repair Pros.